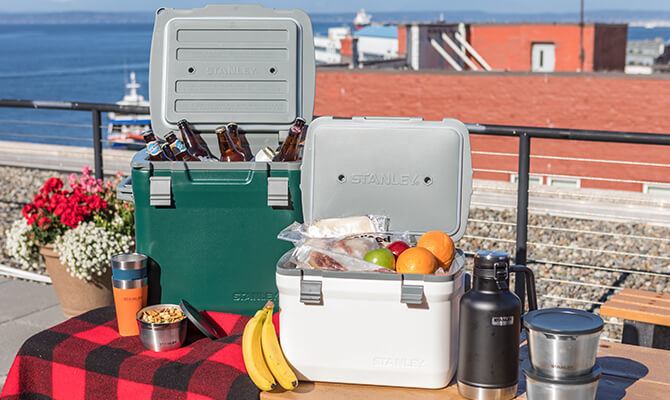
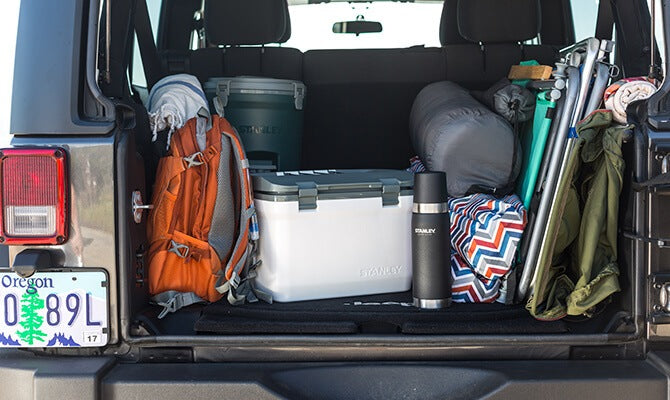
If you and your friends are heading for the great outdoors, tailgating, or just otherwise looking to start a mobile party there’s one tool that always belongs in your arsenal: A sturdy cooler. Mother nature doesn’t provide any refrigerators, so unless your idea of a party is eating trail mix and drinking lukewarm beer (a fate worse than death), a cooler is your best chance at being able to bring some of the comforts of home into the great wide open. Plus closed it, a sturdy cooler can double as a table, chair, or step stool. With a cooler like the 16 Quart Stanley Adventure Cooler, you can get DAYS worth of chillier-than-chill temperature, keeping food fresh, brews cold and ice... Icy.
That in mind, here are a few clutch cooler packing tips to make sure you make the most out of the chilly beast.
Chill The Cooler In Advance
It’s not exactly rocket science: Since coolers help retain cold, a cooler that is starting out cold will stay frosty longer. If you have access to a commercial freezer (because who doesn’t?) stick your cooler in there to chill out. Another option is to pre-cool it with a bag of ice that you sacrifice on the altar of good times. Otherwise, you can just store it in the coldest part of your house for the night before your trip.
Cubes Vs. Block: Choose Wisely
So here’s the skinny on ice shapes: Smaller cubes are easier to pack - especially around odd-shaped items like bottles - but blocks of ice melt slower due to having less overall surface area. Depending on the length of your trip, it may make sense to try to pack a large block of ice and chip off cubes as needed. However, if you’re just taking along brews on a relatively short trip, ice cubes will be easier to fill around your cans and bottles. Or better yet, use a mix of both.
Use Frozen Food As “Ice”
Don’t defrost that steak! Bagged frozen food - whether it’s meat, veggies, soup, or what have you - can help you maximize space and cold without having to displace your favorite imbibes with ice. You can even marinate meat in a plastic bag and freeze it up for a little extra chill factor. The same concept applies to water bottles full of ice: You’ll need drinking water, so why not have it be nice and frosty, AND keeping your other food cold.
Dry Ice, Dawg
It’s not just for high school science experiments, haunted houses, and Whitesnake concerts: Dry ice is far, far colder than regular ice, and leaves no liquid when it melts, turning into vapor instead. That said, it’s not something to mess around with. Always use protective gloves and never allow dry ice to touch your bare skin.
Opening The Cooler Is The Enemy Of Chill
All your tasty frozen treats have two major nemeses: light and heat. The more you open up your cooler, the more cold escapes and the faster your ice melts. That in mind, keep your cooler sealed up tight unless absolutely necessary. And yes, being out of brewskis counts as “necessary.”
Plan Meals In Advance
“Hey, you said ‘cooler packing tips,’ not meal planning prescriptive! What gives???” Relax bud, it’s all part of the bigger picture: By putting food that you plan on first on top, it limits the amount of rooting around in your cooler you have to do, thus preserving the chill. If you want to take this a step further, you can even make “layers” of food, putting a dry towel or chopped up old sleeping pads in between the meals can help add a little extra insulation.
Ice Water Is Your Friend
...to a point. One of the magic things about physics (and don’t tell our 9th-grade teacher that we said this) is that cold actually transfers swimmingly - no pun intended - via liquid. That’s why ice water is very nearly as cold as just plain ice. So don’t be in a hurry to drain off excess water that’s the result of melted ice.

ABOUT STANLEY
Back to HOW-TO GUIDES


